Friday, October 29, 2010

Tricks for carving great pumpkins

Based on my experiences with etching the monogrammed pumpkins, I wanted to share a few pumpkin carving tips with you.

1.  Toothpicks are your friend.
If you make an errant cut or slice, piece the pumpkin back together with toothpicks. No one will notice.


2. Cut the bottom of your pumpkin to make it stand correctly.
Does your pumpkin have a lumpy bottom causing it to wobble or lean?  Make it stay in place by slicing off part of the bottom to give it a flat surface.


3. Get creative with items you have around your house.
Stencils and cookie cutters can be used to help you design your carved pumpkin.  Trace the design and then cut.


4. Use both sides of the pumpkin.
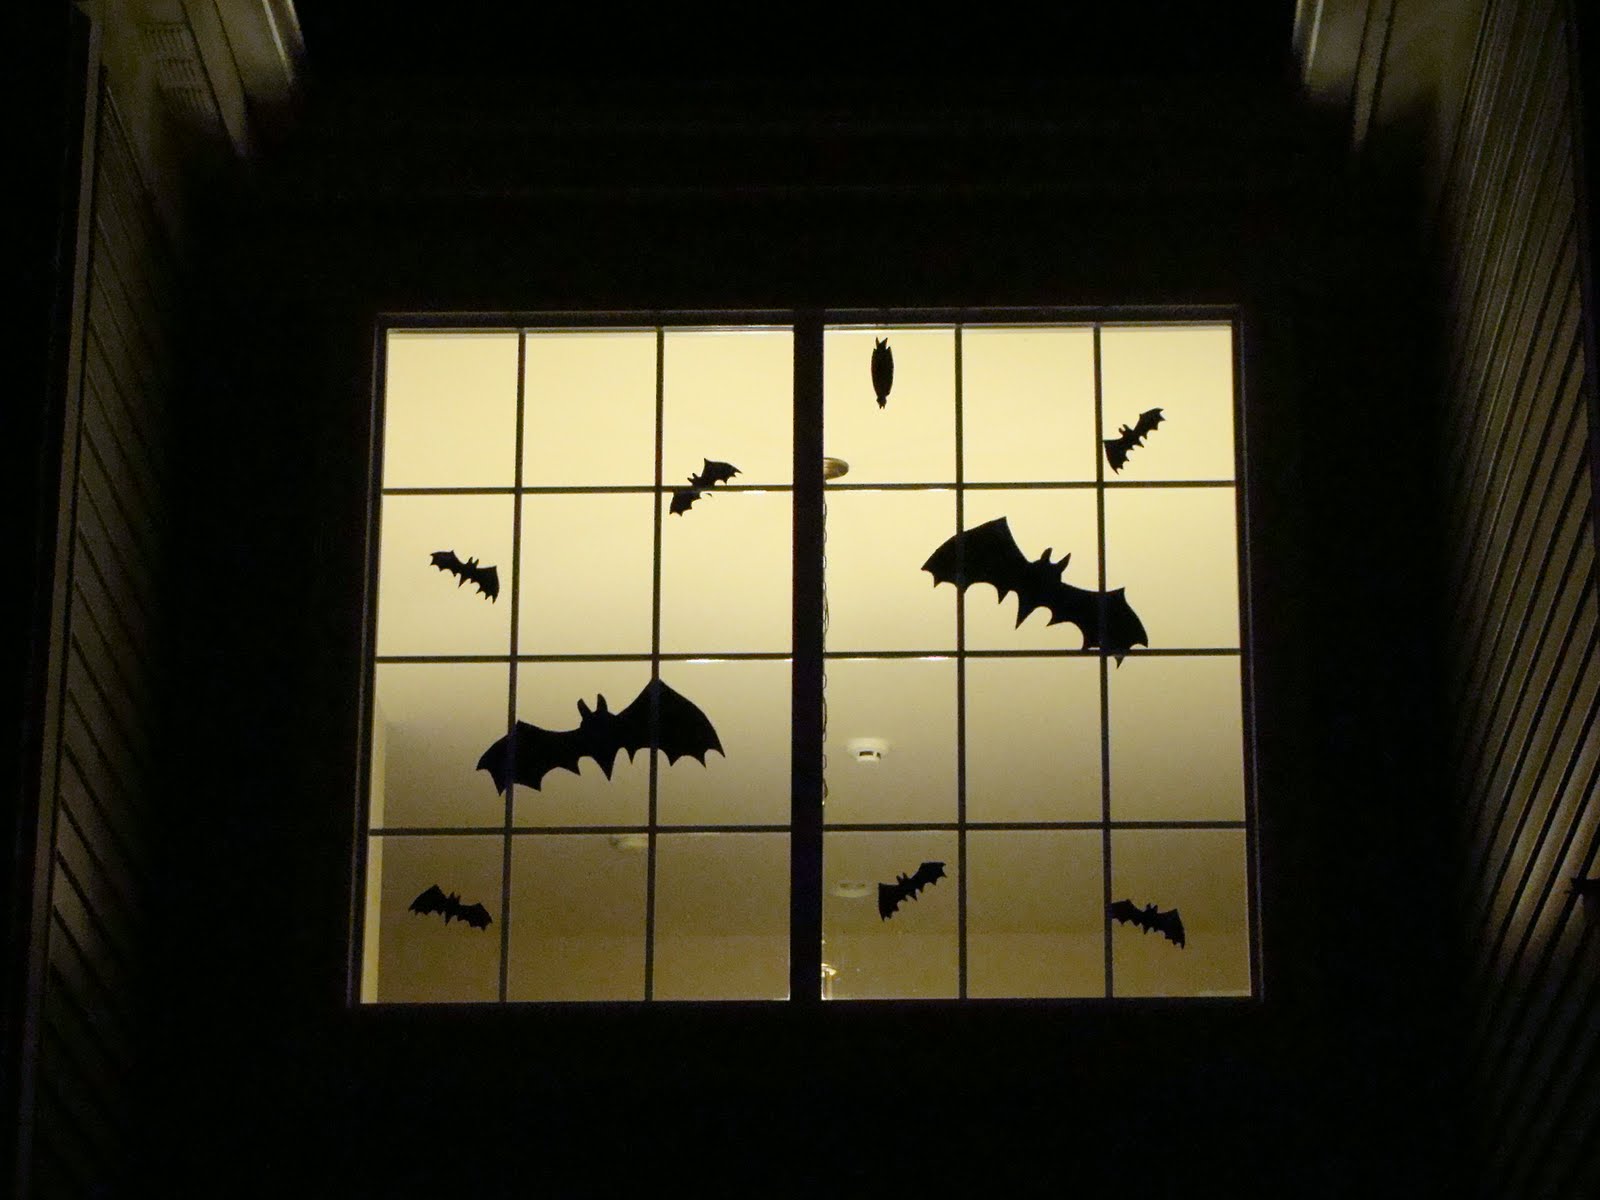
If you're carving only one side of the pumpkin, then you are wasting at least half of that boo-tiful canvas.  Put something on the front and back.  Keep in mind that if you put the back of the pumpkin against a hard surface, such as your house, the design carved on the back can make some great shadows on the wall.

Here's the front of my Little Guy's pumpkin:


Here's the design for the back:


5. Use petroleum jelly to prolong the life of your carved pumpkin.
Spread petroleum jelly on the cut parts that are exposed to air.  This will slow the decay process and keep your design looking fresher for longer.  Only coat the cuts involved in your design; there's no need to put goop on the inside cavity of the pumpkin.

Have fun carving those pumpkins, and have a very happy, fun and safe Halloween!

Wednesday, October 27, 2010

Monogrammed pumpkins

I saw this idea in a Martha Stewart Halloween book/article/web piece years ago: monogrammed pumpkins.  The letters are etched out, rather than carved, so the light shines through the thin pieces.  It's a really nice and classy effect.

To etch a letter, start with a large copy of a single letter. I had to blow up some fonts to size 500 or larger.


Imprint the letter onto the pumpkin by poking holes around the letter edges with a small skewer, poker or toothpick.  I used the poker that came with a Pumpkin Masters kit.


Start digging into the rind with your tool (mine is another Pumpkin Masters tool) but don't go all the way through the rind.  For the first two pumpkins I made, I thinned out the rind and then etched my letter.  This was the backwards way to go, as I etched too far into the pumpkin and tore through the rind.

Instead, scoop the goop out of the pumpkin, then etch, then thin out the rind.  When I started using this process, I got much better results.


I made a monogrammed pumpkin for every member of our household this year, with the fonts matching personalities. Take a look:


The "R" is Copperplate Gothic Light.  The "P" is Lucida Handwriting.  You can see where I broke through the rind before I changed my technique.


The "A" is Monotype Corsiva. The "S" is Harrington, and the "B" is Engravers MT. I made these the proper way: scoop first, then etch, then thin.  The rind is paper thin.  I have a tear or two, but no big holes.


I'm really pleased with how they turned out.  So pleased, I almost wish I had done this on fake pumpkins so I'd have them for years to come.  Come to think of it, I might get some of those fake pumpkins on Halloween clearance if the opportunity presents itself so I can do just that. 

I just love Halloween.

Monday, October 25, 2010

Martha Monday--Costume ready

Halloween is less than a week away. I'm currently doing battle with both my resident three-year-old over his costume, and my 8-month-old's costume.

First, BabyGirl's costume:

I bought this last November on clearance.  Little did I know that I would give birth to an Amazon, and there's no way my size 18-month baby is going to fit in a 6-9 month size bunting.  Hope prevails, though...I purchased stretchy red fabric to widen the sides and arms, and leg holes can easily be cut into the bottom.  MOM2 has graciously volunteered to help modify the costume, as my sewing skills leave a lot to be desired.
 
My Little Guy, in the meantime, alternates between wanting to be a lobster himself and being Spiderman/Batman.  The second request is odd, since we don't let him watch TV so he only hears about these characters through friends. I'm pushing him to be a chef, fisherman or rock star to go along with the lobster.
 
Honestly, I thought I would have a few more years of picking out his costume for him.  Who knew he'd develop such a mind of his own already?  Sheesh.
 
Martha has plenty of easy costume ideas for those who, like me, are going down to the wire this Halloween. For my costume, I might give this a try:


It's a "Raining Cats and Dogs" costume!  Isn't that too fun?  What a great idea.

For the TMI Household, I'm still hoping we can all dress in the same theme, so my fingers are crossed for the lobster/chef pairing with the Mom/Waitress. 

Oh, wait...that's not really a costume for me, is it?  Sigh.

Friday, October 22, 2010

Arachnaphobia

Putting the bat silhouettes in the foyer window was so much fun that I didn't want to stop the silhouette action. Fortunately, I found this Martha Stewart Holidays craft at Michaels. It's a package of 12 large spider silhouettes made from cardstock with 4 yards of black yarn, red gemstones for the eyes and plenty of adhesive dots to tack everything up.

I put them all over the foyer. My only complaint about the kit is that it didn't have enough yarn for me. I would have liked to have more of them spinning webs. It may be hard to tell from the pictures, but these spiders are huge. There are several sizes/poses, and the smallest one is still as big as my hand. Spooky!

I made sure to put them by light switches and door locks to heighten the creep-out factor. See the big hairy spider in the middle of the balcony? He actually moves! He's activated by loud noises, and he'll drop 2.5 feet straight down and then reel himself back up. Fun!

Now, to get some unsuspecting family or friends in the front door...this should be fun!

Wednesday, October 20, 2010

More Halloween

I love decorating for Halloween. Last year was our first true Halloween in this house, and I put a few decorations out (see here and here). This year, I wanted to do more.

The Big and Little Guys helped with decorate the outside of the house with lights, lanterns and skeletons.

Then we put up the bats in the belfry.

To jazz up the inside of the house, I put out my Halloween village. My friend Shannon (shout out!) started me on this several years ago with a few pieces for my birthday and the collection has grown considerably.

So much so that I only had room to put out a few pieces. Here's the one normal house in my Halloween Village:

Too bad it's right next door to a creepy funeral parlor run by a vampire. That can't be good for property values.

Finally, I hung my Will Moses' "Girls Night Out" picture in the foyer. I love, love, love this painting.

Here's a close-up of the action:

This painting sums up the fun of Halloween for me. Happy haunting!

Monday, October 18, 2010

Martha Monday--Bats in my belfry

Bats!

This is a fun Halloween decoration/craft that I found several years ago on Martha Stewart's website. I simply printed off a template of bat shapes, cut them out, traced around them on foam sheets found at the craft store, and cut out the bats.

When I first made these, I hung them on fishing wire and suspended them from a stairwell for a Halloween party. The foam let the wings lilt a bit, giving the illusion of real flight. It was awesome!

This Halloween, I thought I'd use them for fun bat silhouettes in the front window. Cutting the silhouettes out of black cardstock would work just as well for this purpose.

Using regular scotch tape, I taped them on the inside of the large window in the foyer. This is what it looks like from the outside:

Yeah, we have Halloween lights up. When else can I use purple, orange and green lights?
Here's a better picture:

You can even see that one bat is just taking a break from flying and hanging out.

I can't find the original craft online, but I found similar bat silhouette templates in the Bat Mobile Instructions and the Bat Candy Bag Instructions. This is a fun, festive and easy Halloween craft and decoration! If you have kids old enough to handle scissors, let them try this. Have fun!

Friday, October 15, 2010

Frugal party decorations

As my regular readers know, we have THREE birthday parties for our son, the Little Guy, so that each family gets its' own party. We'll have THREE birthday parties for Baby Girl, too, but she has yet to have a birthday that didn't involve actually leaving my uterus.

Ahem....

So, with three birthday parties, I think it's important to spend money on the big things, like food and drinks, and save money on other things, like invitations and decorations.

Fortunately, it's easy to decorate big for a kid's birthday party without breaking the budget. Here's where I spent my money:

Birthday banner = $2.00. I hung it on the mantel. And this is reusable. Win!


Crepe paper = $1.99/roll. I used four colors, and with all the decorating I did, I still have plenty left for future parties. This is the entrance to the dining room from the foyer. Had I more time, I would have done this in several more doorways. The paper is just stuck to the ceiling with regular Scotch tape. Easy!

This is the wall you first see when entering the house.

I even did all the columns in crepe paper, one color for each column. As Bears household, I got a little flack from fellow Chicagoans for putting the yellow and green so close together, but we all survived.

Finally, I put regular balloons on curling ribbon and hung them off of the two balconies in the house. Balloons = $2.99 for a pack of twenty.


I did make a smart investment this year: I bought a balloon inflator for super cheap.
Balloon inflator = $2.50. Totally worth every penny.
Overall, I spent only $12.99 on decorations, and the house looked great. And I still have balloons, the banner and plenty of crepe paper left for future parties. This made for happy parties and a happy mommy who was able to stick to her happy party decoration budget.
Happy birthday, Little Guy!

Wednesday, October 13, 2010

Caketown!

So, if you recall from yesterday's post, this is the cake I was trying to do for my Little Guy's third birthday:

And this is what I ended up with:


My Little Guy, who had seen the picture of what the cake was supposed to look like, was still thrilled with this one.
"What do you think of the cake?" I asked him.
"It's CAKETOWN, Mommy!" was his enthusiastic response.

Caketown? Yeah, I'll take that. :)

Tuesday, October 12, 2010

Cake calamity

For the Little Guy's first birthday party, I did a freestyle cake using no pictures, no patterns...I relied just on my imagination. You can see it here.

For the next party, I had found an awesome cake in the 2007 Wilton Yearbook that I had to make. With the Little Guy's love for vehicles and the mythical "downtown," I knew this cake would be perfect:


Isn't it awesome?! Now, let's think realistically about this...what are the odds that I could make something that even resembled this? Um, since I am not a professional baker or cake decorator, nor did I even read the directions on how to make the cake until the day of the party, the odds were quite slim. However, the reality of the situation didn't hit me until an hour before the party when I started to put the cookies on...but I digress. Here's the process:


I baked a cake. I don't own a round graduated cake pan set, so I used a square set. How different could that be? Riiiiiiiiiiiiiiiggggggggggghhhhhhhhht.

Then I frosted the cake. There were crumbs everywhere! Gah! No worries, I thought, the cookies will completely cover up the lousy icing job. Riiiiiiiiiiiigggggggggghhhhhhht.

I spent days making, baking and decorating the cookies. And it never occured to me that I should measure to account for scale/size in regards to the cake. Because that won't matter, right? Riiiiiiiiiiiiiiiiiiiiiigggggghhhht.

Just doing the details on the cars, trucks, trains and planes took forever. It was at this point that I started to seriously question my judgement skills in picking this cake design to do. But it would still turn out fine, right?

Riiiiiiiiiiiiiiiiggggggghhhhhhht.
I'll show you the finished product tomorrow.

Friday, October 8, 2010

Trucking towards 3

From start to finish, the whole process took several hours, but I think the end result was totally worth it. Here is the Little Guy's (first) third birthday cake...


In the rush to get ready for guests, I forgot to take a whole picture of the finished cake. However, this picture shows it pretty well. Cousin/Uncle Jeff is about to light the candle so we can all sing...

...and eat cake. I'm happy to say it tasted as good as it looked! And it was so much fun to make, I might start doing freeform cakes all the time. Maybe.