Showing posts with label chocolate. Show all posts

Wednesday, January 11, 2012

Back in 2003

Last week, I set out to make a birthday cake.  A rich, delicious, new cake that I had never made before. And to do so, I had to go back in time to 2003 with Martha Stewart Living Annual Recipes


There, on page 87, I found the Belgian Chocolate birthday cake.  The recipe called for ground toasted hazelnuts and a stunning amount of chocolate.


And I made it.  Without the chocolate shavings and candied hazelnuts, though, because I just don't have time for that.  This cake was amazing: unbelievably moist and rich. The experience was unsettling at first, because the ground hazelnuts threw me off...the cake tasted like hazelnuts, so I kept expecting to find one, but I never bit into a hazelnut.  But by the second or third bite, I was hooked.  Yum!
 

I wish I could link to the recipe, but I just can't find it on MarthaStewart.com.  And reprinting it without permission would only lead to me getting jailed/sued/kidnapped/etc., for which I am so not prepared, so you're going to have to find this recipe on your own. Sorry!

The cake was so rich and dense that I had to eat it with vanilla ice cream to lighten it up, that's how good it was.  Warm cake with vanilla ice cream is amazing...the world needs more of it, quite frankly. 
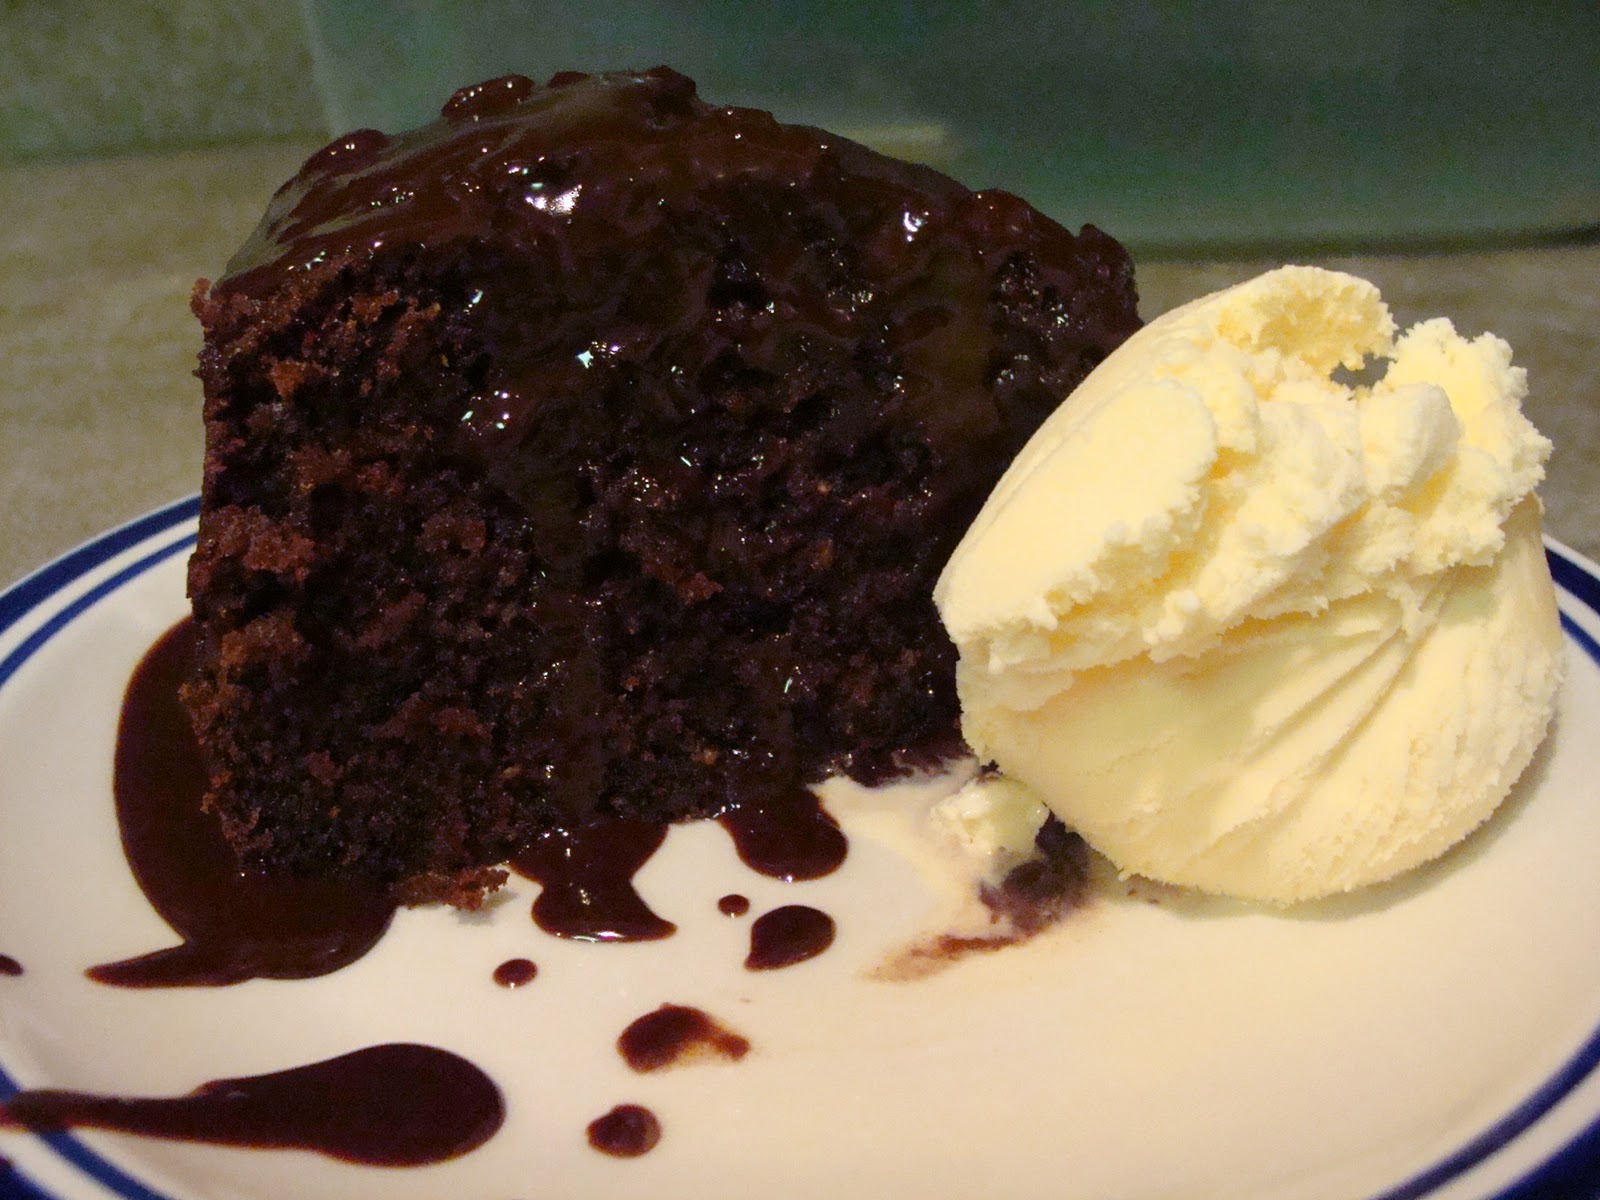
 
Whose birthday was this for, you ask? I'm glad you did...this totally awesome birthday cake was for a totally awesome person: TMI's very own Handy Freddy!  Today is his birthday, by the way.
 
 
Happy birthday, Freddy! And thanks for all that you do in the TMI household.

Monday, December 19, 2011

Martha Monday--Whoopie!

Whoopie! Christmas is almost here, making it the perfect time for Christmas Whoopie pies. Yum!


I followed Martha's directions for chocolate Whoopie pies. For the filling, I whipped up a quick buttercream (one stick butter, 3 cups powdered sugar, 2 tablespoons milk...more or less) and added 2 teaspoons of peppermint extract and pink food color.


To up the peppermint flavor, I rolled the sides in crushed candy canes.


Martha's recipe claims to make 24 sandwiches, but I easily got 27...and as you can see, these were huge Whoopie pies!  The next time I make this recipe, I'll halve the ingredients and make smaller cookies for the sandwiches to make the Whoopie pies more bite-size.


These chocolate-peppermint Whoopie pies are a great offering for a Christmas party.  If you have the time (because we all have oodles of spare time just before Christmas, right?) and need a show-stopper dessert for a party, give these Whoopie pies a try!

Friday, December 2, 2011

And so it begins...

I started my Christmas baking last night with two batches of Chocolate-Peppermint cookies and one batch of Mint Surprise cookies. It felt so, so good to bake something Christmas-y...and now I am full of holiday spirit.  And cookies.  


I made my Chocolate-Peppermint cookies as I have for the past several years.  My cookie is based on Hershey's Double Chocolate Mini Kisses Cookies recipe.  I simply decrease the amount of vanilla to one teaspoon, add one teaspoon of peppermint extract, and substitute the Mini Kisses for Andes Peppermint Chip Baking Bits.  Heaven!


I tried a new recipe and combined chocolate with mint to make these Mint Surprise cookies, which is based on Hershey's Triple Chocolate Cookies. I added one teaspoon of mint extract to the batter, omitted the chocolate chips entirely, and used Hershey's Mint Chocolate Truffle Kisses for the top. 


These were absolutely delicious!  The bag of Kisses contained twice what I needed for the recipe, and at the rate these are going, I'll need to make another batch soon. And next time, I might throw in some mint chocolate chips in the batter (instead of the mint extract--or maybe in addition to?) to turn the mint flavor up to full-blast.  Seriously, you should make these--they are amazing!


Then, because the oven was on and I needed to use up some pumpkin puree leftover from Thanksgiving, I made pumpkin doughnut muffinsBecause I can't live on just cookies, you know?


Actually, I could live entirely on cookies.  My health would be dreadful and my teeth would rot out of my head, but I could make it work for several years before being claimed by scurvy.

My holiday baking is now 15% complete.  That is, if I don't eat all of these cookies myself. If so, then it's back to the drawing board kitchen for me.  And I am completely fine with that.

Thursday, March 31, 2011

Danger dessert for April Fool's Day

Mmmmm...cake.  Moist, delicious chocolate cake with buttercream frosting. What could be better?  How about a moist, delicious chocolate cake with buttercream frosting piled high with chocolate-covered strawberries


Don't you just want to dive right in?


This is a birthday cake that is begging to be shared.  But what's on the back of that "Happy birthday" message?


Oh no, it's a warning! One of the delicious chocolate-covered strawberries has been poisoned!


Which one is it?


I made this cake for a friend's birthday, and with our twisted senses of humor (we're both huge Regretsy fans, if that tells you anything) I thought the threat of poisoned strawberries would be funny. 


And it was, making this the perfect dessert for April Fool's Day.  For the record, I did not poison any strawberries...


...but to be safe, I still ate the cake first.

Wednesday, April 29, 2009

Molten chocolate cakes

Last weekend, we had great friends over for dinner (shout out to Mary Ann, Armando and Amelia!). I was behind on dinner and dessert prep due to events that took place earlier that day, so when it came time to make an awesome dessert, I had to think fast and act even faster. I grabbed my copy of Great Food Fast from the folks at Martha's Everyday Food division and found a divine dessert.


(Seriously, that cookbook lives up to its name.)

I made the chocolatiest creation in the book: molten chocolate cakes. And yes, in TMI-land, chocolatiest is a word. You'd be surprised how often it appears in my vocabulary.


The prep work is very easy for this. Just preheat the oven, mix a few things, and bam! Chocolatey goodness is yours. Chocolatey--another word that gets a lot of use in my house.


Greasing the muffin cups with butter and coating with white sugar is brilliant. It makes a slightly crisp outside, and the cakes popped right out of the muffin tin. I'm going to start using this trick for other dessert recipes.


From start to finish, it took less than 30 minutes to make the molten chocolate cakes.


TMI note: do not over bake these cakes, or you'll lose the liquid chocolate magma deliciousness in the middle.


Another TMI note: these hold beautifully in the fridge for a few days. Just put your cake in the microwave for 30 seconds, and you are back in business. Which makes these cakes perfect for a quick and easy breakfast. If you're into chocolatey goodness first thing in the morning. Which I am.


I served these with ice cream and fresh whipped cream. Mmmmmmmmmmm.
I'm giving this recipe five gold stars--it's easy to make, impressive on the table and so so so delicious. And bonus: it requires no fancy ingredients or equipment. Try it tonight. And save one for breakfast in the morning!

Friday, April 24, 2009

Chocolate Mint Cake

I first experienced this cake while in high school. I was invited over to a boyfriend's house for dinner, and his mom served this cake. One bite and I was in heaven. I had three pieces and begged for the recipe. The boyfriend's nice mother shared the recipe with me. And now, my dear TMI readers, I'm sharing it with you: here's the recipe for the most wonderful chocolate mint cake. Ever.


Step One: Bake two 8" or 9" rounds of devil's food cake. Go ahead and use a mix. I won't tell Martha if you don't.


Step Two: Mix an 8 ounce container of Cool Whip with 2 teaspoons mint extract and a tiny bit of green food coloring. I think they actually make mint-flavored Cool Whip during the holiday season, but in the event that's not lurking in your fridge in April, the mint extract will do.


Step Three: When the cake has cooled, slice each round in half horizontally. Try to keep the cut as even as possible. And if you are interested in knowing how to level cakes properly, don't look to me for answers. As you can see from my layers, I have no idea what I'm doing.


Step Four: Put a layer of the minty green Cool Whip between each layer of cake. Spread each layer of Cool Whip to an inch from the edge--it will spread to the edge as the other layers are added.


Seriously, look at those crazy layers! While it may not be structurally sound (let's all give thanks I'm not an architect or construction worker), it is structurally delicious.

Step Five: Once the cake is assembled, cover it in creamy chocolate frosting. Again, it's okay to use the canned stuff. Your secret is safe with me.


Step Six That Is Really Crucial To The Success of This Cake: If you are not serving the cake right away, then you must freeze it overnight. Leaving it in the refridgerator is okay, but the layers really tend to smash the Cool Whip and then slide around, leaving you with a lopsided cake. And if your layers are really uneven, that only makes the storage problem worse.
I make the cake, put it in my cake carrier, and then put it in the freezer overnight. Take it out a few hours before serving, and it defrosts to perfection.


Note: my cake is really messy. That can happen with this recipe. Between uneven layers, really soft Cool Whip and assembling it at an ungodly hour, my cake looks like a wreck. This is okay. Once people take a bite, they'll think it's the most beautiful thing they've ever seen.


With the mint and the green, this cake works wonderfully for Christmas and St. Patrick's Day. But it tastes great 365 days of the year. In fact, it would taste great tonight! Give it a try. You'll thank me for it later.

Saturday, January 10, 2009

Christmas cookies in January

My family is large, and so is my husband's. In order to coordinate everyone's schedule, Christmas often gets spread out over a week or so. Which is fine, because we can concentrate on the family we're with and enjoy the event, and not worry about racing to another town to visit another group so we can get to destination #3 on time to see more folks...you get the idea.
Anyways, this year, my part of my family decided to stretch things waaaaaay out--we're having Christmas on January 11. To make it feel more like Christmas and less like the January doldrums, I made the one cookie that says "Merry Christmas" to me like nothing else: Chocolate-Peppermint Goodness (that's what I'm calling them this year). Nothing gets me into the Christmas spirit like the yummy combination of chocolate and peppermint, and I'm hoping it works for everyone else, too.
Start with the basic recipe for Nestle Toll House Cookies. Omit the vanilla extract and definately leave out the nuts. Decrease the amount of chocolate chips by half. Then, add the super awesome secret ingredients:

Andes peppermint crunch baking bits, peppermint extract and Ghirardelli ground chocolate. Simply substitute the peppermint extract for the vanilla extract, mix in the ground chocolate before the flour, and put the peppermint crunch bits in with the chocolate chips.
For extra pepperminty goodness, I always add crushed peppermints. Candy canes and starlights works well. Just make sure they are peppermint flavored and run them through the food processer. I add 1/4 to 1/2 cup of those--delicious! Follow the baking directions according to the Toll House recipe.

And there you have it! Christmas in cookie form. Even in January.