Months later, Laura gave me some large pieces of cork board, and fancy picture frames that she had spray-painted gold. The frames and cork board sat, and sat, and sat.
Over this summer, I bought several cork boards from yard sales and thrift stores, as well as several fancy frames. They went into the stack of cork board and frames from Laura. And they sat, and sat, and sat.
Finally, faced with a ridiculous pile of cork board and frames and no spare time or know-how to combine, I asked myself "What would Martha do?"
Obviously, Martha would give this project to a member of her staff to complete. I don't have a staff, but I do have Handy Freddy. I gave this entire project to my brother, and things really started to move.
Here's how to make your own framed cork boards:
1. Buy fancy picture frames and large sheets of cork board at yard sales, thrift stores, etc.
2. Pop the frames off the cork board with a screwdriver.
3. Measure the cork board to fit a fancy picture frame.
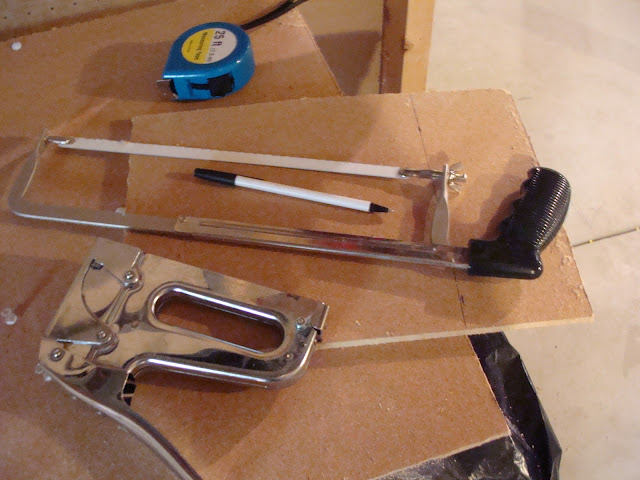
4. Carefully cut the cork board with a hacksaw. Go slow during the cutting or the cork board will tear.
5. If you want to paint your fancy frames, now is the time to do it. I simply used gold spray paint on mine.
6. Fit the cork board into the empty fancy frame, and staple it in.
Ta-da! A beautifully framed piece of cork board that is ready to display just about anything.
Handy Freddy made seven framed cork boards for me and no two are framed alike or the same size. After all of his hard work, it was the least I could do to get someone else to hang the framed cork boards--I made the Big Guy do that.
My original plan was to put the art gallery in the toy room, but instead I settled on a large blank wall in the foyer. I immediately put several drawings/colorings from the kids in the frames, but lately they are quickly filling with Christmas cards and pictures. Everything is secured with thumbtacks.
I owe a huge thanks to Laura for getting this project started, and to Handy Freddy for getting it done! And another huge thanks to Freddy for taking the step-by-step pictures.
By coming up with an idea and having my 'staff' do 95% of the work, I really am becoming more and more like Martha Stewart! ;) Kidding! You know I love Martha more than my luggage.


2 comments:
Well you have your ideas (projects) and your 'staff' all that is left is a camera crew. Then you'll be doing a video blog show instead. LOL
I am the camera crew!!! Maybe I can teach the kids to shoot video...I'll put it on the list! Thanks again, Freddy!
Post a Comment